7 Tips for Choosing the Best Machine for Shirt Printing
Choosing a Machine For Shirt Printing is not just a matter of comparing prices or picking the fastest model. The right choice depends on what you print, how many orders arrive each week, and the space available in your shop. A small heat press may suit simple, low-volume work. A direct-to-garment printer or screen-printing setup may make more sense for different fabrics, designs, and production demands. Details matter. Think about the feel of the finished print, too.
Apparel-decoration consultant Marshall Atkinson’s practical advice can be summed up this way: “Choose equipment for the work you actually sell, not the work you hope to sell.” Treat that as a guiding principle, not a substitute for checking current specifications with manufacturers. Before buying, compare setup and maintenance needs, compatible materials, print quality, operator training, and the true cost of consumables. Ask for a sample on the same kind of shirt you plan to use. Inspect it under ordinary light. Is the design sharp? Does the fabric still feel comfortable?
This guide covers seven considerations to help you make a more informed choice. Some trade-offs are easy to miss. A machine with impressive speed may require more space, skill, or upkeep than your team can manage. And specifications do not tell the whole story. A sample run can reveal problems a product page cannot. You may still choose imperfectly; real production has surprises. A careful comparison, though, can reduce costly guesswork and help match the machine to your actual workflow.
Define Your Shirt Printing Needs and Production Goals
Before comparing machines, define what your shop needs to print. Estimate weekly shirt volume, typical order size, and how often rush jobs arrive. A home business making ten shirts per order has different needs from a team producing hundreds for events. Write down the shirt fabrics, garment colors, and artwork you expect to handle. A dark cotton shirt with a detailed, multicolor design may call for a different workflow than a simple one-color logo on a light shirt. Be specific.
Set practical production goals, too. Decide how quickly an order should be ready, how many people will operate the equipment, and how much room you can spare. Measure the work area, including space for garment staging and finishing. Then set a realistic budget that accounts for supplies, maintenance, and training—not just the machine itself. These estimates are rarely perfect. That is fine. Review a few real or sample jobs, and note where your assumptions feel uncertain. Testing prints on the fabrics you plan to sell can reveal details a product description cannot, such as how fine lines appear or how the shirt feels after printing. A clear needs list helps you compare machines against actual work, rather than features you may never use.
Compare Printing Methods and Machine Types
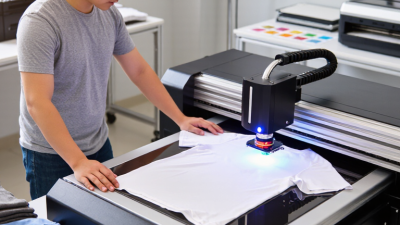
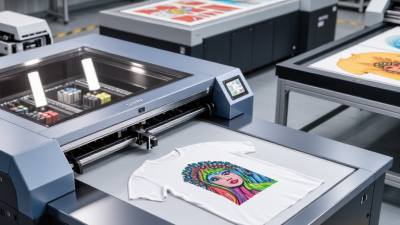
Choosing a shirt-printing machine starts with the method, not the price tag. Screen printing suits larger runs: ink is pushed through a mesh screen, and each color usually needs its own setup. Direct-to-garment (DTG) prints detailed artwork straight onto fabric, making it practical for small batches, especially cotton shirts. Direct-to-film (DTF) prints a design onto film before heat-pressing it onto fabric. It can handle varied materials, but adds powder, curing, and transfer steps. Heat-transfer vinyl works for simple names and numbers, though cutting and weeding become tedious for intricate designs.
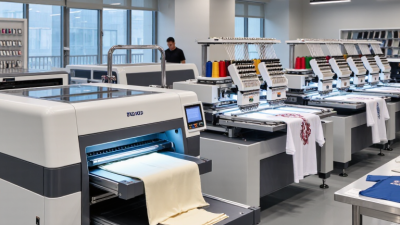
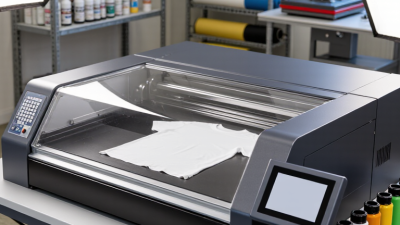
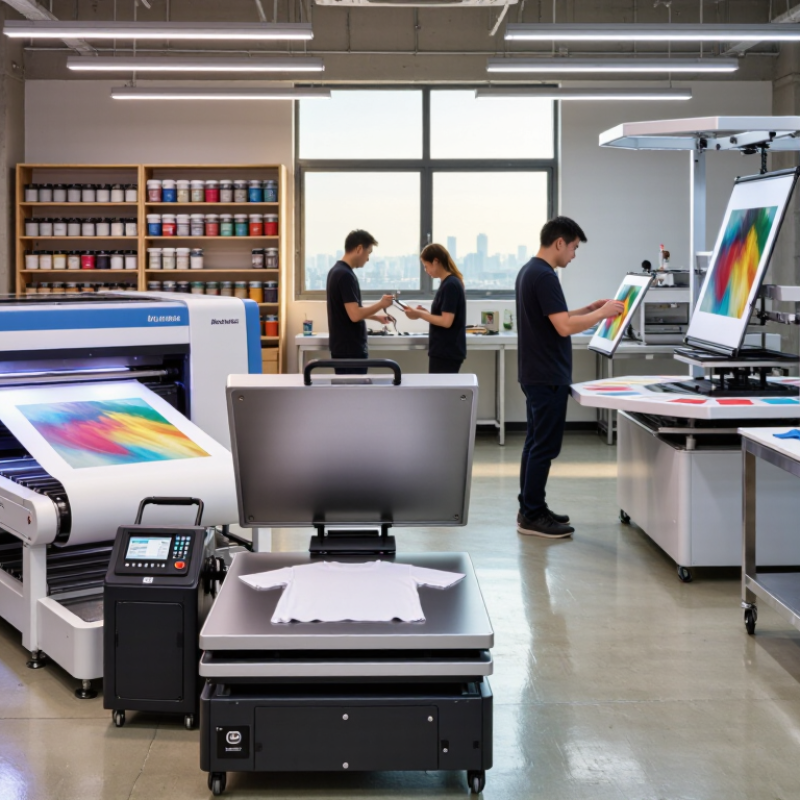
Machine types follow those workflows. A screen-printing press needs screens, space, and hands-on setup; a desktop DTG printer needs pretreatment and dependable garment positioning. A DTF setup typically combines a printer, curing unit, and heat press, so check the full equipment footprint. A heat press alone applies transfers; it does not print artwork.
Grand View Research estimated the global custom T-shirt printing market at about $4.3 billion in 2022, with projected annual growth of 11.5% through 2030. That signals demand, not guaranteed profit.
Before buying, test the same artwork on your usual shirt fabric, inspect fine lines after washing, and time the complete workflow. Small details matter. I would still compare maintenance and consumable costs more carefully; headline speed can be misleading.
Evaluate Print Quality, Speed, and Material Compatibility
A machine’s sample print tells you more than its advertised resolution. Check fine lettering, smooth gradients, and solid fills under bright, neutral light. Look closely at edges; fuzzy lines can disappear on dark fabric. Looks sharp? Wash the sample anyway. A print that cracks or fades after several washes may not suit regular production.
Compare usable output, not just the fastest setting. Ask how long a typical shirt takes, including loading, pretreatment, and curing. A quick print cycle can hide slow setup or frequent cleaning. Time a small batch if possible. Record both the first shirt and the tenth; consistency matters when orders grow. I might still underestimate setup time on a busy day.
Check which materials the machine can handle, such as cotton, polyester, and blended fabrics. Compatibility depends on more than the fabric label: texture, stretch, and color can change the result. Test a light and a dark shirt, then inspect the print after curing and washing. Some materials need extra preparation, which adds time and cost. Ask for clear care instructions and repeatable test results before choosing.
Assess Setup Requirements, Maintenance, and Total Cost
Before choosing a shirt-printing machine, map the full setup, not just the machine’s footprint. Check its power needs, workspace clearance, ventilation, and compatibility with your usual shirt sizes and fabrics. Allow room for supplies and safe, comfortable movement. Tip: Measure the doorway and worktable, too. A machine that fits on paper may still be awkward to install or use.
Maintenance affects both print quality and schedule. Ask what needs regular cleaning, how often parts require adjustment, and whether routine servicing can be handled in-house. For example, some equipment may need daily cleaning to prevent ink buildup or uneven transfers. Keep a simple maintenance log. It can reveal recurring issues, though recording every minor detail may feel excessive at first.
Compare total cost over several years, not only the purchase price. Include consumables, replacement parts, training, energy use, and the cost of downtime. A lower-priced option may become expensive if setup takes longer or repairs interrupt orders. Tip: Price a typical month of production using your expected print volume. I would leave some budget for surprises; estimates are rarely perfect, especially when order sizes change.
Choose a Machine That Fits Your Workflow and Budget
Choose a machine around the shirts you plan to print each week, not an imagined rush of orders. A few custom shirts may suit a compact heat press, while repeat batches can justify equipment with faster setup. Track order size, garment types, and turnaround time for a month. That gives you a more useful estimate than guessing.
Budget for more than the machine. Ink, transfer materials, screens, cleaning supplies, and replacement parts can add up. Leave room for a sturdy worktable, safe electrical capacity, and storage for blanks. Check how much space each step needs, including curing or finishing prints. A machine that fits through the door may still crowd your packing area. Start small. It can be tempting to buy extra capacity “just in case,” but unused features still cost money. On the other hand, the cheapest option may slow production or need more hands-on maintenance. Compare realistic running costs and ask how routine cleaning, setup, and repairs fit your schedule. A simple cost sheet may miss occasional downtime; revise it after your first few jobs. Choose equipment your current workflow can support, with a little room to grow.
Choose a Shirt-Printing Machine That Fits Your Workflow and Budget
Compare indicative production rates to match equipment to your typical order volume. A heat press can suit small batches, while screen-printing presses are often better suited to larger runs.
Planning estimates: heat press, 15–30 shirts/hour; DTF workflow, 20–40; manual screen press, 60–120; automatic screen press, 300–600. Actual output varies with artwork, colors, setup, curing, equipment, and operator experience. Compare purchase and running costs against your expected order volume.