How to Print on T Shirts With a Machine in 2026?
Printing a T-shirt by machine sounds simple until ink, fabric, pressure, and timing disagree. In 2026, creators can choose among direct-to-garment printers, direct-to-film systems, screen-printing machines, and heat presses. Each method behaves differently on cotton, polyester, blends, and textured garments. The right choice depends on design size, order quantity, fabric color, and expected durability.
Marshall Atkinson, a respected garment-decoration consultant, says, “A great print starts with a great file.” That practical warning shapes this guide. Clean artwork, correct color settings, and suitable pretreatment often matter more than expensive equipment. A bright design may look excellent on screen but appear dull on navy cotton. Small details can disappear after curing. Test first.
This guide explains how to prepare artwork, position a shirt, select consumables, operate a Machine Print On T Shirt system, and inspect the finished garment. It also considers production speed, maintenance, wash testing, ventilation, and responsible workplace practices. No machine guarantees perfect results. Even experienced operators adjust temperature or pressure after checking fabric behavior.
Some mistakes remain useful. A slightly uneven transfer can reveal poor alignment. Faded edges may expose insufficient curing. These details teach more than confident assumptions. You will see practical steps, realistic limitations, and quality checks for home workshops, small businesses, and growing apparel operations. The goal is not merely a colorful shirt. It is a repeatable print that feels clean, survives regular washing, and meets customer expectations.
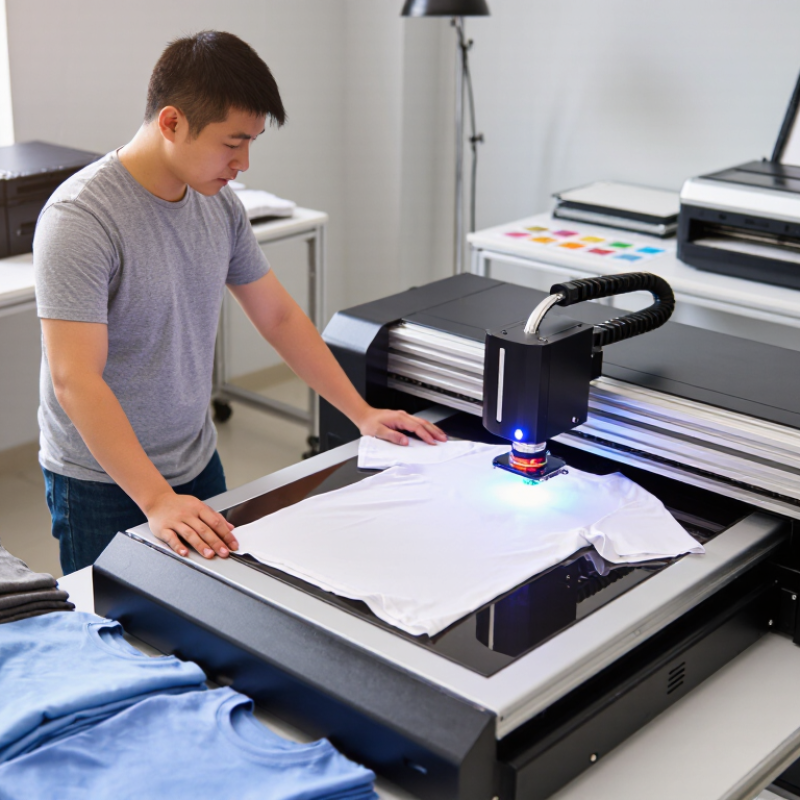
Select a T-Shirt Printing Machine: DTG, DTF, HTV, or Screen Printing
Choosing a machine starts with the product, not the machine. Grand View Research estimated the global custom T-shirt printing market at USD 4.3 billion in 2023. It projects double-digit growth through 2030. That growth hides very different workflows.
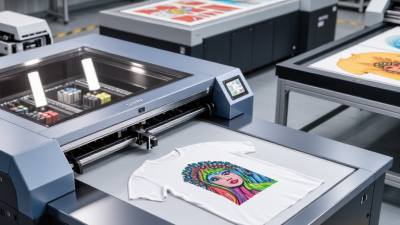
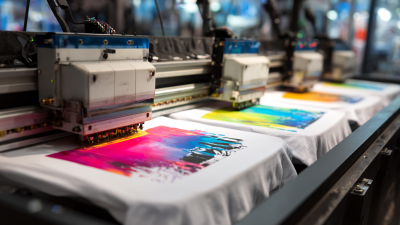
DTG suits detailed artwork on cotton, especially for short runs. It prints directly, so setup is relatively simple. However, pretreatment, curing, humidity, and fabric color can change results. My first samples looked dull before I adjusted pretreatment.
DTF transfers printed film and adhesive powder onto many fabric types. It handles small logos and repeat orders well. Powder control and ventilation require disciplined procedures. The 2024 Smithers report, The Future of Digital Textile Printing to 2028, identifies digital textile production as a continuing growth area. Yet productivity depends on finishing, not printing speed alone.
HTV uses cut film and a heat press. It works well for names, numbers, and simple graphics. Fine lettering can be frustrating.
Screen printing remains efficient for larger batches. Industry surveys consistently identify apparel as a major screen-printing application. Labor still rises with every color and screen. Choose it when volume justifies setup time.
Track blank shirts, ink, film, pretreatment, rejected pieces, labor, and electricity. A cheap machine can become expensive after reprints.
I still test five garments before accepting an order. It feels slow. It prevents embarrassing surprises.
Prepare 300–600 DPI Artwork and Check Fabric Compatibility
How to Print on T Shirts With a Machine in 2026?
Prepare artwork at the final print size, not a larger canvas. For sharp shirts, use 300 DPI for normal viewing distances. Choose 600 DPI for fine lettering or small linework. A 12-inch design should therefore measure 3,600 pixels at 300 DPI. Keep important details away from seams and collars. I once enlarged a low-resolution logo, and the edges still looked soft. More pixels cannot restore missing information.
Export a transparent PNG or a suitable production file after checking color mode and sizing. Avoid excessive sharpening. It can create rough halos around white text. The 2024 Global Digital Textile Printing Market report by Grand View Research valued this market at approximately 2.72 billion US dollars in 2023. Its projected 12.1% annual growth through 2030 reflects higher expectations for repeatable quality. FESPA’s 2023 Print Census also surveyed more than 1,000 printers across 71 countries, showing how widely digital workflows are being adopted.
Fabric compatibility needs a physical test. Cotton usually accepts water-based textile ink well, while polyester can need different ink chemistry and curing control. Blends may produce weaker color or slight bleeding. Stretch fabrics also require flexible prints. Print a small swatch first, then wash it under the intended care conditions. AATCC TM61 provides a recognized accelerated laundering method for colorfastness checks. Measure cracking, fading, and edge lifting after washing. My test was not perfect; the black looked strong before laundering but became dull afterward. That result changed my curing time and pretreatment settings.
How to Print on T-Shirts With a Machine in 2026?
Prepare artwork at 300–600 DPI, depending on the printing process and final print size. Always check whether the garment fabric is compatible with the selected machine and ink system before production.
Print a Test Shirt at 160–180°C and Follow the Press Time Spec
How to Print on T Shirts With a Machine in 2026?
The custom T-shirt printing market is expanding quickly. Grand View Research valued it at about USD 4.3 billion in 2023 and forecast strong growth through 2030. That growth makes process control more important, especially for small workshops and new operators.
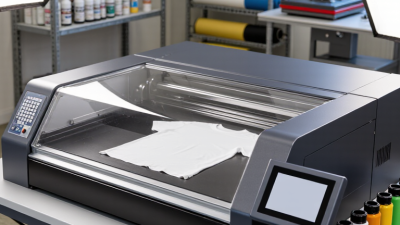
Print a test shirt at 160–180°C, then follow the press-time specification for your transfer material. Temperature alone does not create a durable print. Place the shirt flat, remove wrinkles, and check the platen with an infrared thermometer. Press for the stated time and pressure. Do not guess.
Let the shirt cool before examining the edges. A weak corner may reveal low pressure, moisture, or insufficient dwell time. Peel according to the transfer instructions, not personal habit. Perform a gentle wash test after 24 hours. The International Trade Centre identifies apparel quality and production consistency as important factors in textile competitiveness, but a test garment remains more reliable than theory.
I once treated 170°C as a universal setting. It was not.
Different fabrics react differently. Polyester can show heat marks, while cotton may need careful moisture control. Record the temperature, pressure, press time, fabric type, and result. Repeating the same test is useful, but repeating a bad assumption is not.
Verify Color Accuracy, Adhesion, and Wash Fastness Under AATCC 61
How to Print on T-Shirts With a Machine in 2026?
Machine printing is only half the job. The printed surface must retain color, adhesion, and softness after laundering. Textile Exchange’s Materials Market Report 2024 states that polyester represented 59% of global fiber production in 2023. That matters because polyester often needs different pretreatment and curing controls than cotton. Record fabric type, ink batch, temperature, pressure, and curing time for every production run.
Check color with a spectrophotometer, not only under workshop lighting. Use CIEDE2000 ΔE values against an approved digital or physical standard. Set the tolerance before printing, because “close enough” changes between operators. AATCC EP9 supports controlled visual color evaluation, while AATCC TM61 measures accelerated laundering performance. Its 45-minute cycle is commonly treated as roughly five home launderings, although AATCC warns that results are not identical to domestic washing.
Test before and after TM61 laundering. Inspect solid areas, fine lettering, white underbases, and dark garment edges. Measure color change, then check adhesion with a documented tape-pull or laboratory-approved textile method. Look for lifting, cracking, pigment transfer, and sticky residue. Do not rely on one attractive sample. Batch variation is real.
Some failures are self-inflicted. I have seen prints pass a first inspection, then lose density after incomplete curing. Recheck the machine’s actual platen temperature with a calibrated probe. Keep wash conditions consistent, including detergent, water temperature, and drying. AATCC TM61 can reveal weak bonding quickly, but it cannot replace careful process control or honest review of borderline results.
How to Print on T Shirts With a Machine in 2026? - Verify Color Accuracy, Adhesion, and Wash Fastness Under AATCC 61
Comparative production validation data for common machine-based T-shirt printing workflows
Sample Machine-Printing Verification Results
| Sample ID |
Machine Printing Process |
T-Shirt Fabric |
Pretreatment / Transfer Condition |
Curing or Fixation |
Color Difference
ΔE00 |
Adhesion
5 = Best |
AATCC 61
Wash Rating |
Color Staining
Rating |
Result |
| M-01 |
Direct-to-garment inkjet printing |
100% combed cotton, black |
Water-based pretreatment; uniform spray application |
Heat press, 165°C for 35 seconds |
1.8 |
4.5 |
4–5 |
4–5 |
Pass |
| M-02 |
Direct-to-film powder transfer |
100% cotton, white |
Printed film with hot-melt adhesive powder |
Heat press, 150°C for 15 seconds |
2.4 |
4.0 |
4 |
4–5 |
Pass |
| M-03 |
Automatic screen-printing with cured ink |
100% cotton, navy |
No pretreatment; calibrated screen deposit |
Conveyor oven, 160°C ink-film temperature |
1.5 |
4.8 |
5 |
4–5 |
Pass |
| M-04 |
Dye-sublimation transfer printing |
100% polyester, white |
Dye-sublimation paper; pressure-controlled transfer |
Heat press, 200°C for 45 seconds |
1.3 |
Not applicable |
4–5 |
4–5 |
Pass |
| M-05 |
Direct-to-garment inkjet printing |
60% cotton / 40% polyester, heather gray |
Pretreatment adjusted for blended fibers |
Heat press, 165°C for 35 seconds |
3.2 |
3.5 |
3–4 |
4 |
Review |
| M-06 |
Direct-to-film powder transfer |
65% polyester / 35% cotton, black |
Low-bleed transfer film and adhesive layer |
Heat press, 150°C for 15 seconds |
2.8 |
4.0 |
4 |
3–4 |
Pass |
Evaluation Criteria
- Color accuracy: ΔE00 below 2.0 is generally considered excellent for controlled production; values from 2.0 to 3.0 may require review depending on the color tolerance.
- Adhesion: Rated on a 1–5 scale after conditioning and tape-pull inspection. Dye-sublimation is integrated into polyester fibers, so a separate surface-adhesion score is not applicable.
- Wash fastness: AATCC 61 accelerated laundering is used to evaluate color change and staining. A rating of 4 or higher is used here as the production acceptance target.
- Important: Final acceptance should be based on the exact garment construction, ink or transfer chemistry, curing profile, wash program, and laboratory procedure used for production.