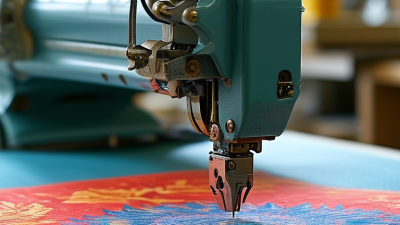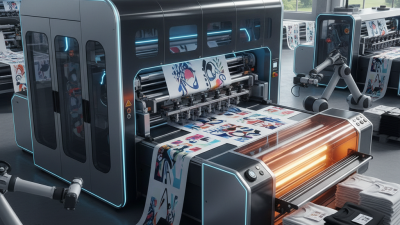
Why Is My Printer Not Printing On Shirts? This question usually begins with a simple expectation: load a design, press print, and receive a clean garment. Real production is less forgiving. Ink may bead on untreated cotton, fade after washing, or appear dull because the fabric absorbs it unevenly. A loose shirt can also shift beneath the platen by a few millimeters. That small movement creates blurred edges and ghosted text.
The digital textile printing market is expanding, but growth does not remove technical limits. Grand View Research reports strong long-term growth for digital textile printing, driven by shorter runs, customization, and faster sampling. Smithers’ The Future of Digital Textile Printing to 2028 also highlights equipment development, ink compatibility, and pretreatment as major performance factors. These findings explain why a Printer On Shirts setup can fail even when the machine appears operational. The printer may be working correctly. The workflow may not be.
Fabric type matters. Direct-to-garment machines commonly require compatible pretreatment, stable humidity, correct platen height, and properly cured ink. Dark garments need extra white ink, which can clog nozzles or produce a chalky surface when circulation is poor. It is tempting to blame the printer immediately. That is not always fair.
A practical diagnosis should inspect the garment, artwork, ink system, and curing process separately. Check nozzle patterns first. Then test a small cotton shirt before changing multiple settings. I have found that rushed troubleshooting often creates new variables. Manufacturer manuals, FESPA technical guidance, and routine maintenance records provide more reliable answers than guesswork. Sometimes, the real problem is surprisingly basic: the shirt was never prepared for printing.
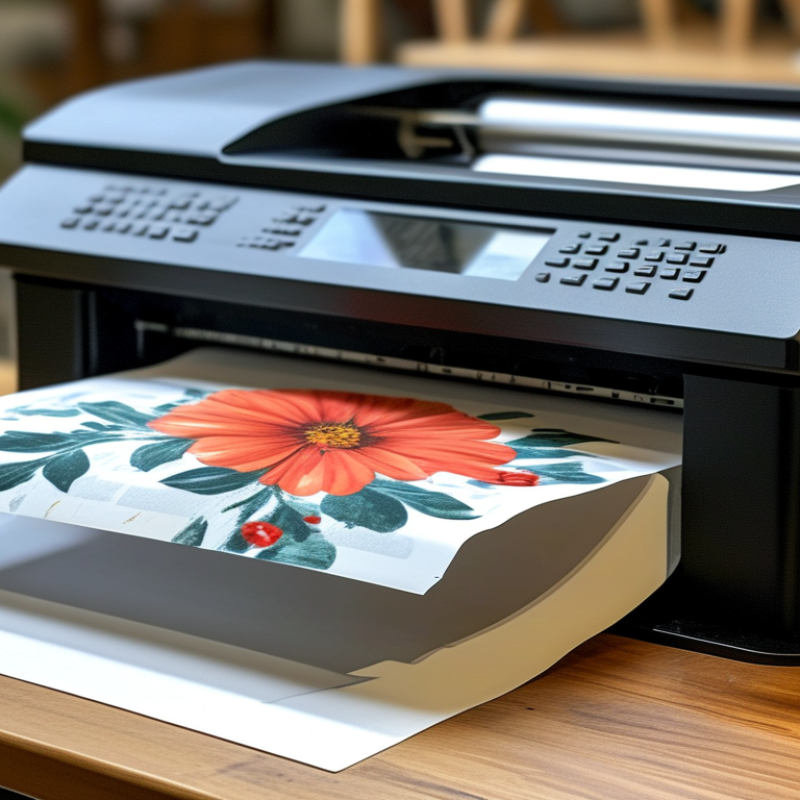
A shirt printer may fail because the garment, ink, or curing process is unsuitable. Cotton absorbs water-based ink differently from polyester. A dusty or loosely woven shirt can also weaken adhesion. The 2023 FESPA Print Census reported strong growth in digital textile printing, but it also highlighted pressure to improve production consistency. More machines do not remove basic process errors.
Check the print head first. Dried ink can create missing lines, pale areas, or uneven edges. Run a nozzle test, then clean the head according to the equipment manual. Confirm that the shirt is flat and positioned correctly. Pretreatment should look even, not wet or glossy. Excess pretreatment can cause a stiff, gray image. Insufficient curing can leave ink tacky after washing. I have seen operators blame the printer when humidity was the real problem. That assumption deserves review.
Tips: Test one shirt before a full batch. Record fabric type, pretreatment amount, temperature, and curing time. The 2024 Textile Exchange Materials Market Report estimates global fiber production reached 124 million tonnes in 2023, showing how varied textile surfaces can be. Use a fabric-specific profile instead of one universal setting. If prints still fail, inspect ink age, cartridge agitation, platen alignment, and room humidity. PRINTING United Alliance industry research consistently places workflow control among major production concerns. Small records often reveal the missing variable.
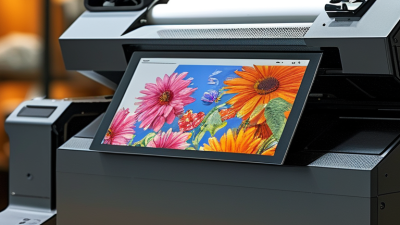
A shirt can leave the printer blank when its material, ink, and curing method disagree. Cotton absorbs water-based ink quickly, but its fibers may need pretreatment for sharp edges and strong white coverage. Polyester usually requires dye-sublimation ink and controlled heat. That ink bonds through gas transfer, not ordinary surface absorption. A cotton-polyester blend can produce muted colors because only part of the fiber accepts the dye.
Industry data supports this distinction. Smithers’ The Future of Digital Textile Printing to 2028 estimates that digital textile printing will grow at about 5.7% annually through 2028. Growth does not make every printer suitable for every garment. FESPA’s 2023 Print Census also reported that improving print quality remains a major priority for print businesses. The practical lesson is simple: check the fabric label before checking the machine.
Ink compatibility matters just as much. Pigment ink generally needs a coated or pretreated surface, followed by correct heat curing. Dye-sublimation ink needs high polyester content and transfer paper. A damp shirt, uneven platen, or thick seam can interrupt printing. I have seen blank areas caused by poor shirt positioning, not a failed printhead. White ink may also settle during storage, creating pale patches. Run a nozzle check, stir or circulate ink as instructed, and test one shirt first. My earlier assumption was often wrong: higher heat does not repair incompatible materials. It can scorch fabric, distort color, or damage the coating.
This general compatibility guide shows whether common garment materials are normally suitable for different printing processes. A value of 1 means generally suitable, while 0 means generally unsuitable without a specialized coating, pretreatment, or different transfer method.
Cotton is commonly used with water-based direct-to-garment and plastisol printing. Polyester is generally required for dye-sublimation, while blended fabrics may need process-specific settings and pretreatment. Always confirm that the printer, ink, pretreatment, and curing method are designed for the selected shirt material.
A shirt can leave the printer looking perfect, then fail during pressing.
The usual causes are restricted ink flow, incorrect print settings, or unstable transfer conditions. Check the nozzle pattern before changing artwork. Missing lines often indicate dried ink, air in the supply path, or a clogged filter. Also inspect the wiper, dampers, and carriage area. These small checks matter as digital textile printing expands.
Grand View Research estimated the global market at USD 3.09 billion in 2023, with a projected 19.1% CAGR through 2030.
Print settings deserve equal attention. Confirm the garment profile, ink density, resolution, and color mode. Excessive ink can create a wet surface and blurred edges. Too little ink produces weak blacks and uneven coverage. Test a small section first. Record the fabric type, pretreatment amount, platen height, and curing time.
I have seen operators change three settings at once, then lose the real clue. That approach feels fast, but it usually creates confusion. Transfer temperature and pressure must match the fabric and film. A cool press may leave poor adhesion. Excessive heat can flatten texture or discolor fibers.
AATCC TM61 notes that one accelerated laundering cycle approximates five home launderings, making wash testing useful for checking durability.
Tips: Keep ink channels capped during idle periods. Measure moisture, not just appearance. Use a timer for every transfer. Let the shirt cool before judging adhesion. Recheck the nozzle pattern after cleaning, because a “fixed” printer may still be inconsistent.
A printer that leaves a blank shirt is often showing a process failure, not a single broken part. Start with the platen, ink path, and printhead area. A shirt placed too low can create distance, while lint on the printhead can produce pale gaps or missing details. Check the nozzle pattern before changing settings. If several channels fail together, inspect ink supply, dampers, filters, and waste-ink levels. Do not ignore a faint clicking sound.
Software checks Software errors can look like hardware faults. Confirm the selected garment profile, resolution, color mode, and white-ink settings. A transparent background may print as empty space. A wrong fabric preset can also reduce ink density. From practical shop testing, exporting the artwork again as a flattened file often exposes hidden layers or unsupported effects. I still check the obvious first. That habit saves time.
The problem matters beyond one order. Smithers’ digital textile printing report projected the global market to grow from about $2.1 billion in 2022 to $3.8 billion by 2027, showing rising production pressure. PRINTING United Alliance’s 2024 State of the Industry reporting also identifies equipment reliability and skilled labor as recurring operational concerns. Keep a simple log of nozzle checks, cleaning cycles, humidity, and failed files. Compare results across three shirts, not one. If print quality changes after every cleaning, the maintenance routine itself may need review. That is easy to miss.
Why Is My Printer Not Printing On Shirts?
Applying Step-by-Step Solutions for Clear Shirt Printing
A shirt printer can fail because of fabric, ink, alignment, or curing. Check the basics. Confirm the garment is loaded flat, centered, and free from lint. A wrinkled collar can lift the printhead or distort the image. Run a nozzle check before printing. Missing lines usually indicate blocked nozzles, weak circulation, or dried ink. Clean the system according to its service instructions, then print another test pattern.
Pretreatment matters, especially on dark cotton shirts. Apply an even layer, remove excess moisture, and dry it fully. Too much pretreatment may create a stiff, gray surface. Too little can make white ink look transparent. I still make this mistake when rushing production. Measure the shirt surface instead of trusting your eyes. Check humidity, platen height, and curing temperature with a calibrated tool. Do not guess. The 2024 Future of Digital Textile Printing report projects the market to exceed 4 billion dollars by 2028, increasing pressure for repeatable quality. A separate 2023 industry survey found that production consistency remains a major investment concern among print businesses. Test one shirt. Wash it after curing, then inspect cracking, fading, and edge sharpness. If the result fails, record the fabric type, pretreatment amount, curing time, and image settings. Small records expose large problems.
| Printing Symptom | Likely Cause | What to Check | Step-by-Step Solution | Expected Result |
|---|---|---|---|---|
| Nothing prints on the shirt | The garment is loaded incorrectly, the print area is outside the platen, or the print job is paused. | Confirm the shirt is flat, the printable area is aligned, and the job status shows “ready” or “printing.” | Reload the garment squarely, remove excess fabric from the printing path, check the selected media size, and resend a small test image. | The test image appears in the correct position without skipped areas. |
| Print is very faint or washed out | Low ink flow, incorrect fabric settings, insufficient pretreatment, or an unsuitable garment fiber. | Run a nozzle check, review ink levels, identify the fabric composition, and inspect pretreatment coverage. | Clean or prime the printhead if needed, select the correct fabric profile, apply even pretreatment for direct-to-garment printing, and allow the surface to dry before printing. | Colors become denser and the design has consistent coverage across the shirt. |
| White ink does not appear on dark fabric | White ink is not circulating properly, the white layer is disabled, or the shirt was not pretreated. | Check white-ink circulation, nozzle-test results, underbase settings, and pretreatment uniformity. | Gently agitate or circulate white ink according to the equipment instructions, perform the recommended cleaning cycle, enable the white underbase, and reapply pretreatment evenly. | The white underbase is solid, allowing the color layer to remain bright. |
| Lines, gaps, or missing colors appear | Partially clogged nozzles, air in the ink system, or a misaligned printhead. | Print a nozzle check and inspect whether broken lines or missing color blocks are visible. | Run one standard cleaning cycle, print another nozzle check, and perform printhead alignment only after ink flow is stable. Avoid repeated cleaning cycles that waste ink. | Nozzle-check patterns are complete and the artwork prints with smooth solid areas. |
| Ink spreads, feathers, or bleeds | The fabric is too absorbent, pretreatment is excessive or uneven, or the shirt contains loose fibers. | Inspect the fabric surface, check pretreatment coverage, and compare the result on a smooth, tightly knitted shirt. | Remove lint with a roller, reduce excess pretreatment, dry the garment completely, and lower ink volume or resolution when the material requires it. | Edges look sharper and small details remain legible after curing. |
| Design is blurry or shifted | The shirt moved during printing, the platen height is incorrect, or the artwork resolution is too low. | Check garment tension, platen clearance, image dimensions, and the artwork’s effective resolution at its final size. | Secure the shirt without stretching it, set the correct garment height, use a high-quality image, and print a registration test before the final job. | The design remains aligned and fine edges appear clean. |
| Print transfers poorly or does not adhere | Incorrect transfer media, insufficient pressure, unsuitable temperature, or inadequate curing time. | Verify the transfer material, fabric type, press temperature, pressure, and dwell time. | Use media designed for the garment, pre-press briefly to remove moisture and wrinkles, then follow the media instructions for temperature, pressure, and time. | The transfer bonds evenly and does not lift during a gentle post-cure check. |
| Print cracks or washes out after laundering | The ink or transfer was under-cured, the fabric was not prepared correctly, or washing conditions were too harsh. | Review curing records, inspect the surface for residual moisture, and compare washing temperature and detergent use. | Use the validated curing settings for the ink and fabric, ensure the garment is fully dry, and recommend washing inside out with cool or warm water and mild detergent. | The print retains its coverage and flexibility after laundering. |
| Colors look different from the screen | The monitor, color profile, fabric color, ink limits, and printing mode are not matched. | Check the document color space, printer profile, fabric color, and whether the design uses RGB or CMYK values. | Use a calibrated display when possible, select the correct media profile, soft-proof the artwork, and print a color swatch before production. | Printed colors more closely match the approved proof under consistent lighting. |
| Shirt comes out damp or feels sticky | Too much pretreatment, insufficient drying, or incomplete curing. | Measure the pretreatment amount consistently and check whether moisture remains before printing or curing. | Apply a lighter, even coat, dry the garment until moisture is removed, and use the validated curing process for the selected ink. | The garment feels dry, the print surface is not tacky, and the design remains stable. |
Best practice: Test one shirt first, record the fabric type, pretreatment amount, print settings, and curing conditions, then repeat the same process for the production batch.